
Our e-commerce customers often run into the same problem: they have photographed a product, but the background does not fit the promotion they have in mind. The table looks a little cluttered on a product page; on social media, the photo lacks a sense of everyday life.
GPT Image 2.5 Flare and Sunburst can help us edit a reference image. But before using the result in a promotion, we need to ask another question: does the product still match what customers will actually receive?
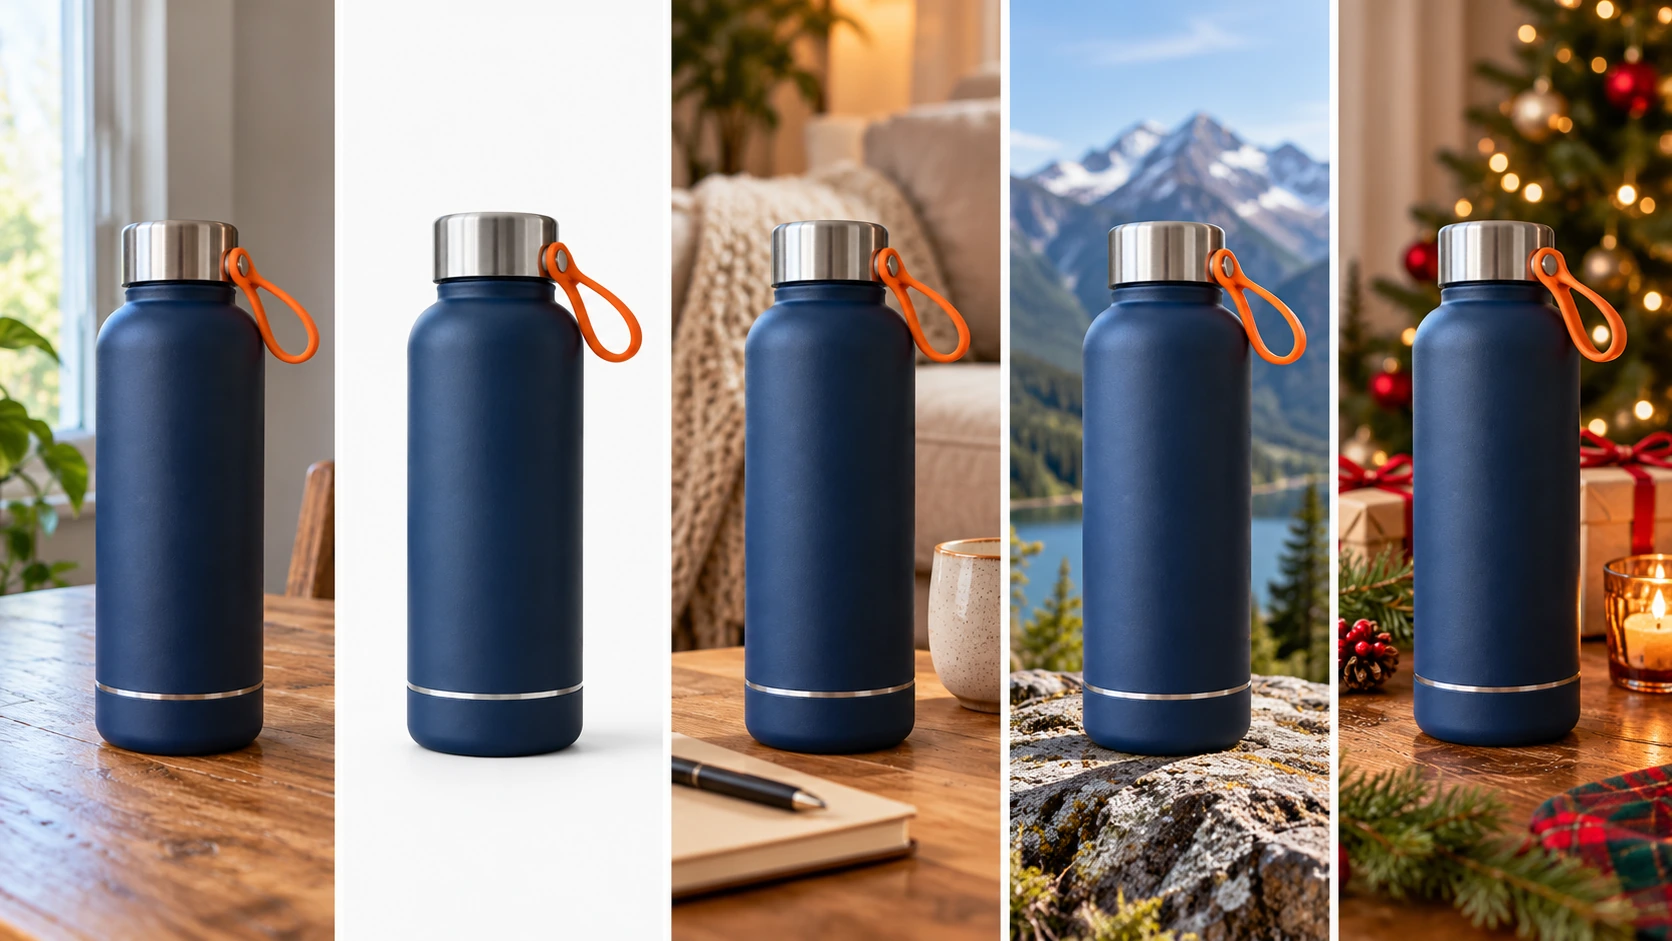
This article has two parts. First, we use an insulated bottle to explain how to turn an original photo into four promotional settings. Then we compare the time, token use and calculated cost of individual Flare and Sunburst calls using real request records published by API Hop on October 22, 2026. These are separate sets of material: the bottle images are teaching illustrations; the real request records use a different photo of a drink.
1. The goal is a usable product image, not just a new background
For sellers, the product’s shape, color, accessories and packaging text are what matter. An extra seam on a lid, a changed tread on a shoe or an incorrect model number on a bottle can make an image unsuitable for publication.
We therefore break every edit into three requirements:
- What may change: the background, props in the setting, and natural lighting and shadows that fit the new background.
- What must stay: the product’s shape, structure, color, readable text and actual accessories.
- How to approve the result: compare the generated image with the original photo and fix any incorrect product information. “Close enough” is not enough.
Which product do we use throughout this article?
We chose a navy-blue insulated bottle with four easy-to-recognize features: a matte body, a silver metal lid, an orange carry loop on the right and a thin silver band near the bottom. These features make it easier to see whether the product stays consistent as its surroundings change.
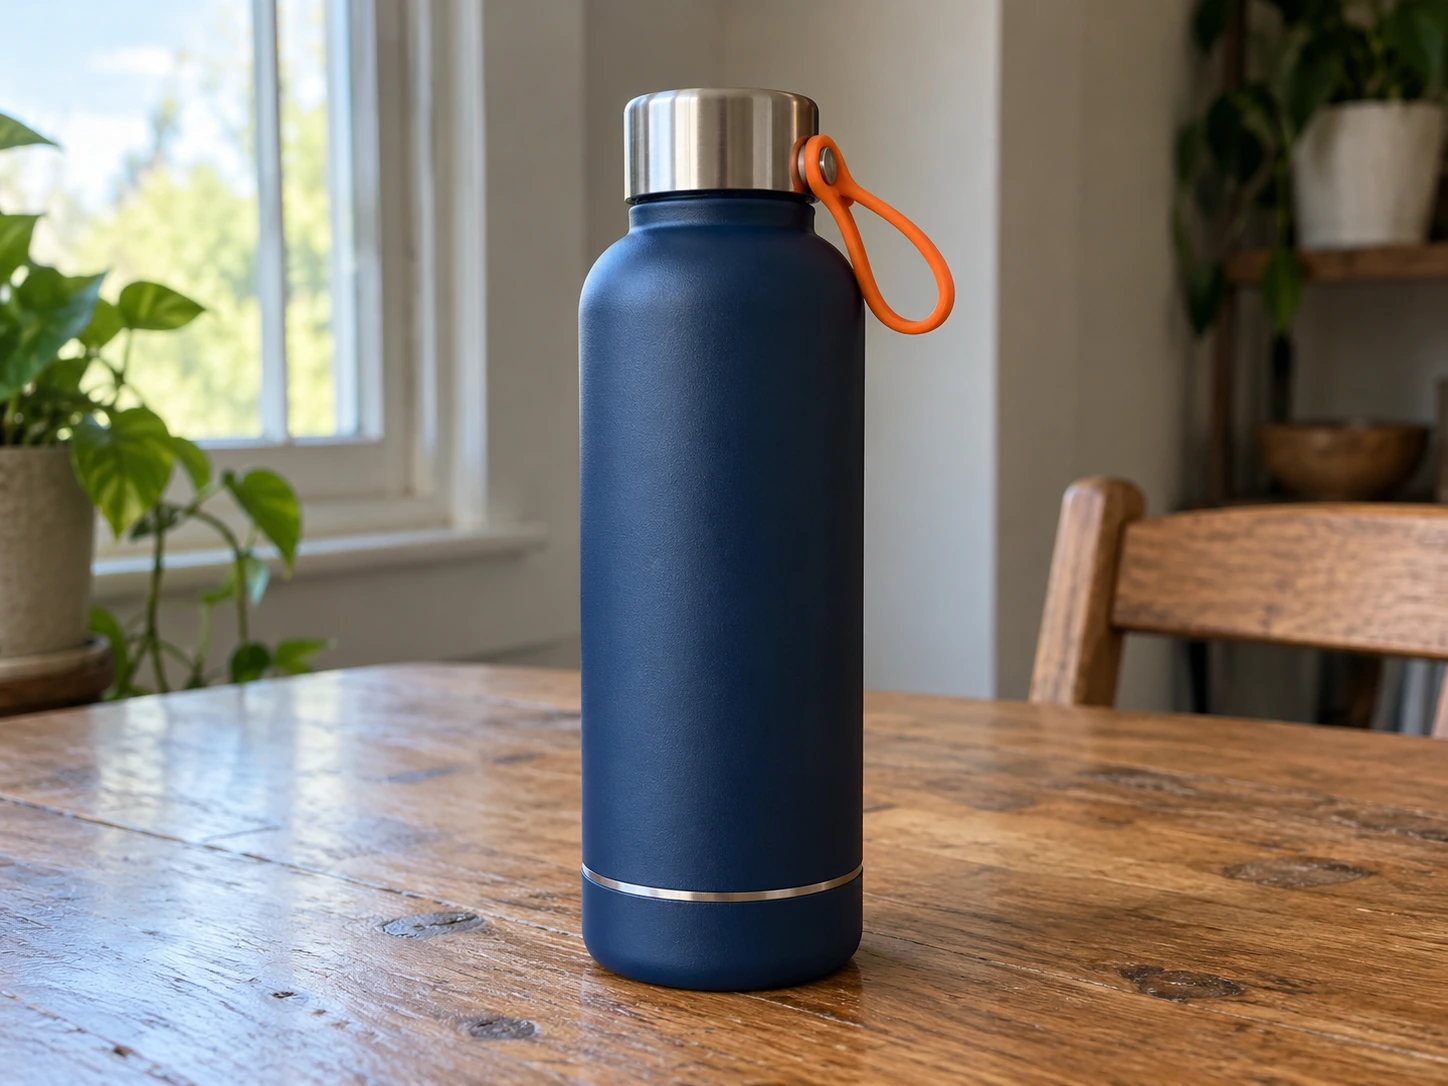
When preparing real product photos, we recommend four things: keep the whole product in the frame, show important parts clearly, use soft light where possible, and keep background objects from blocking the product.
2. Step one: start with a simple white background
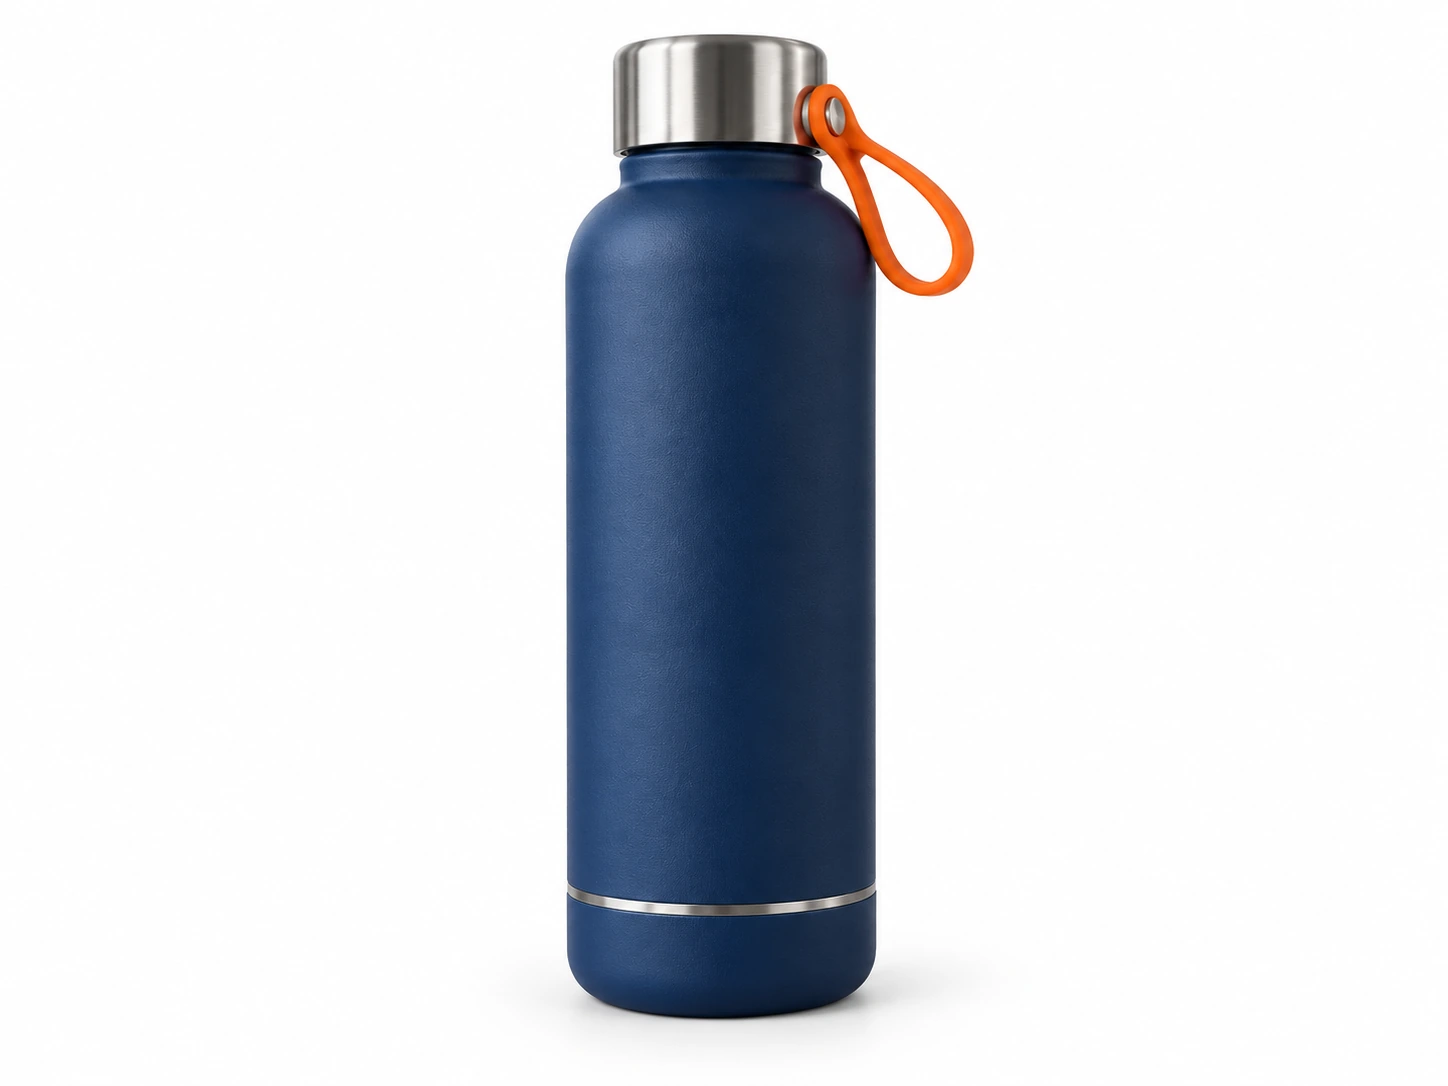
We start with white because it makes the result easiest to check. Leave out complicated props for now, and do not ask the model to “improve the product design” along the way. A focused prompt makes problems easier to spot when something goes wrong.
Ready-to-use prompt: main product image on white
Edit the product photo I uploaded. Change only the background; do not redesign the product.

Goal: replace the current background with a clean white studio backdrop.
Keep a soft, realistic contact shadow.
Preserve the product exactly: its navy-blue matte body, silver metal lid,
orange carry loop on the right, thin silver band near the bottom,
original proportions, shape, angle, material texture and all existing details.

Do not add, remove or alter any product parts. Do not add text, numbers,
trademarks, prices, labels, icons, poster headlines or watermarks.
Do not invent details that are unclear in the reference image.
Create a product display image in a realistic photographic style.
When we receive the result, we first zoom in on three places: the lid’s edge, the orange loop’s attachment point and the silver band at the bottom. If any of them has changed, we cannot use the image as an accurate product photo without further work.
3. Step two: place the same product in a home setting
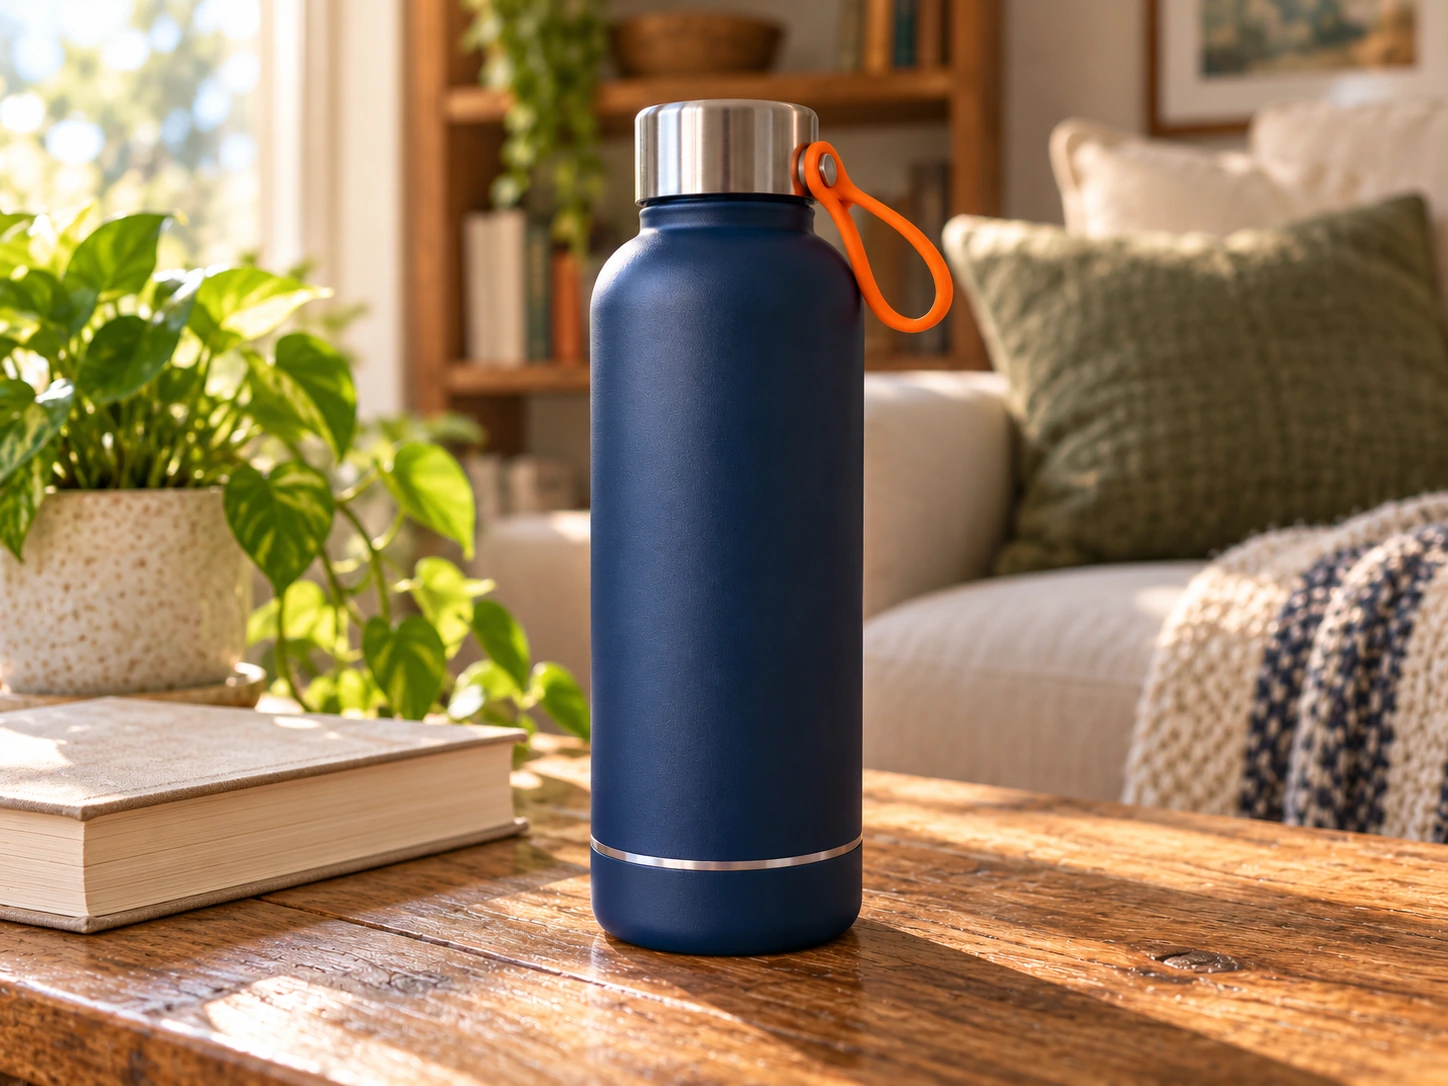
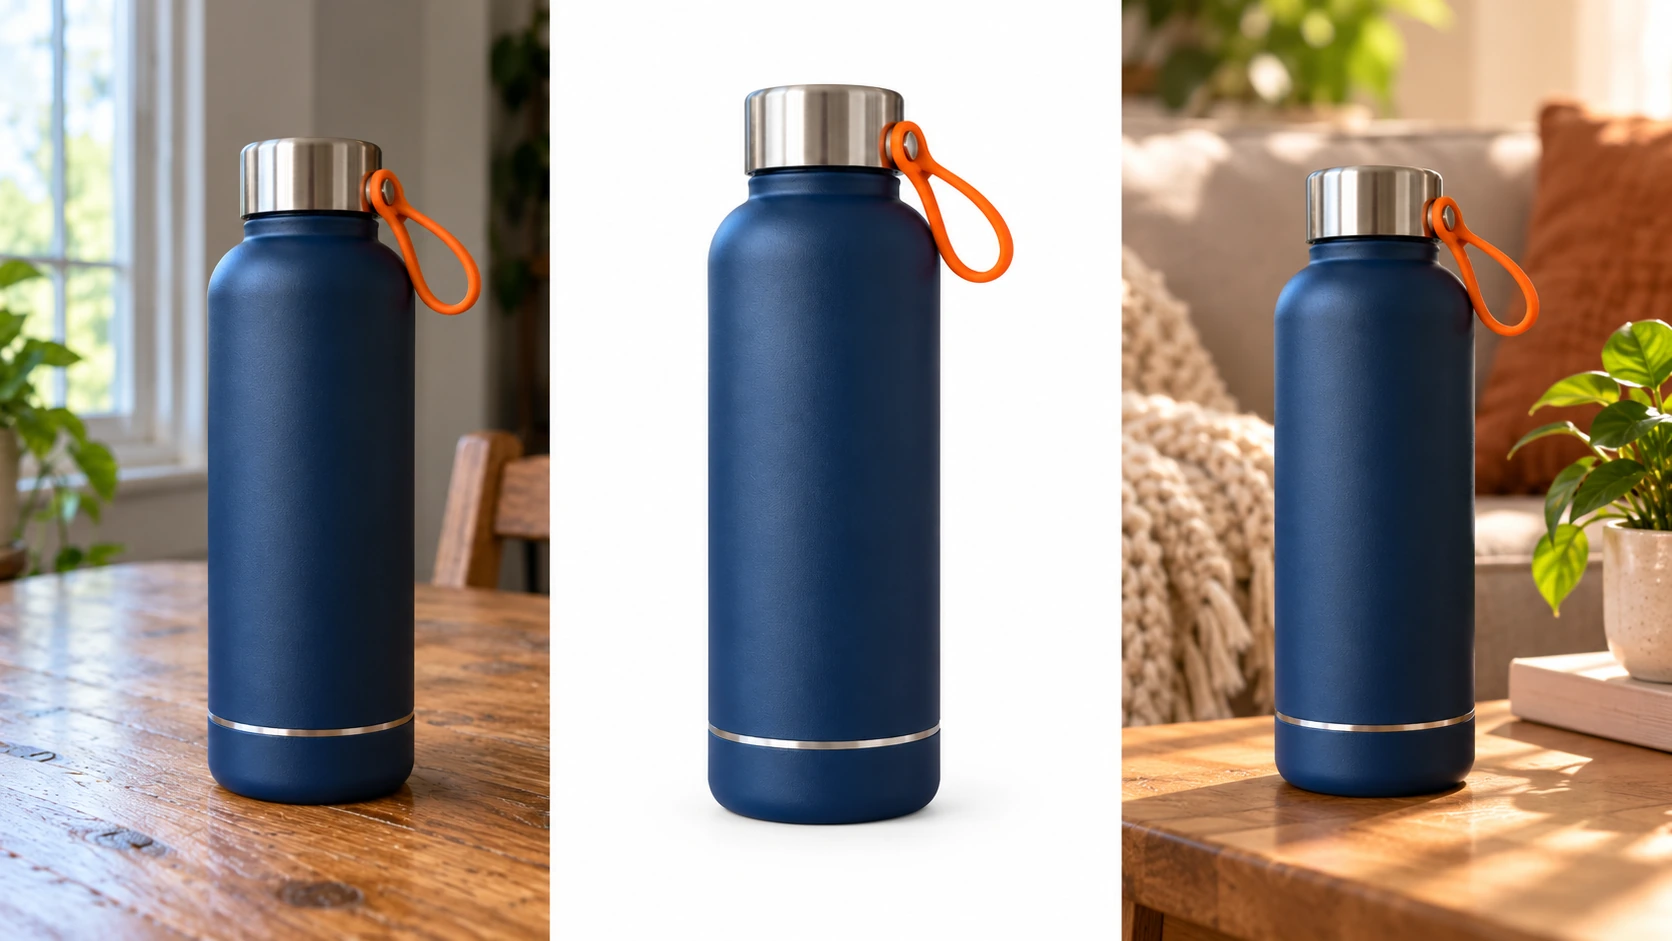
Figure 3: an illustrative home setting. The scene helps readers picture how the product might be used, but its shape still needs to be checked.
A white background shows the product itself; a home setting shows where it might belong. We keep the description simple: a wooden table, a plant, natural light from a window. The background should not draw all the attention.
Ready-to-use prompt: home lifestyle image
Use the same product photo I uploaded. Change only the surroundings, not the product.

Place the insulated bottle naturally on a wooden table in a cozy living room.
There may be books and plants beside it, with an out-of-focus sofa in the background.
Use warm, soft window light and a realistic contact shadow.

Preserve the original product's navy-blue matte body, silver metal lid,
orange carry loop on the right, thin silver band near the bottom,
proportions, angle, structure and materials. Do not alter any product parts.

There must be no text in any language, numbers, logos, brand labels,
prices or watermarks anywhere in the image.
Keep a realistic photographic style, with the product as the visual focus.
At this stage, we pay particular attention to the direction of the light. If the window is on the left but the highlights on the bottle and the shadows on the table do not line up with it, we edit again, even if the background looks beautiful.
4. Step three: create an outdoor promotional setting
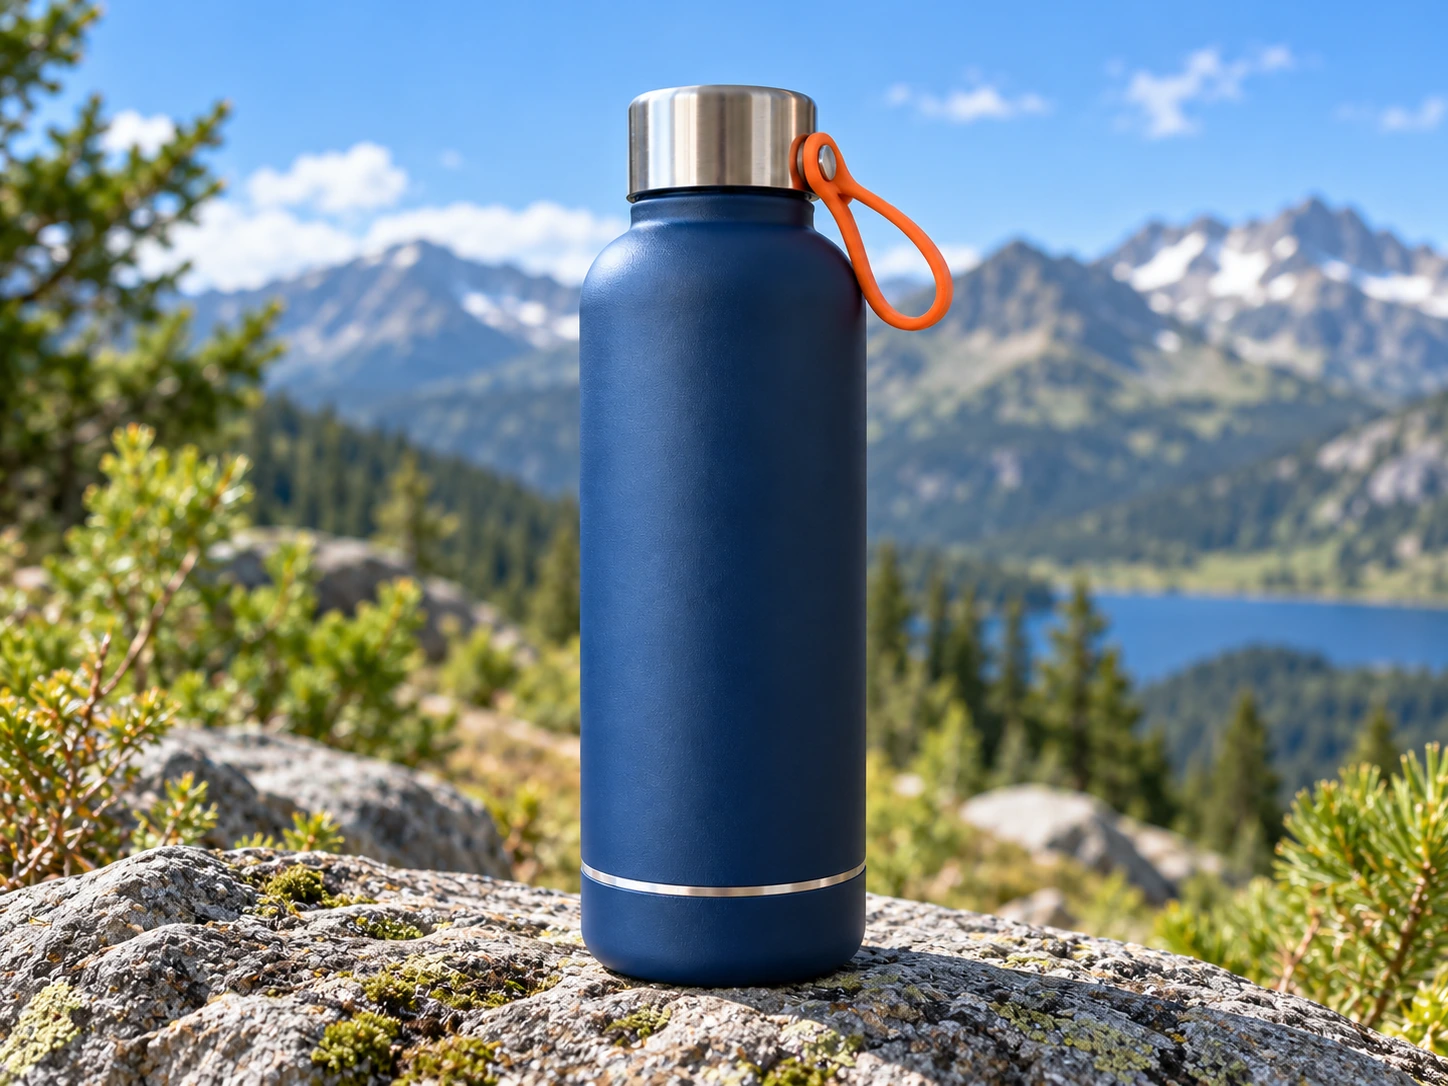
Outdoor scenes can work well for insulated bottles, sports bottles and backpacks. But we do not recommend adding too many elements at once: a rock, distant mountains and a blue sky are enough. The more complex the scene, the easier it is to overlook product details.
Ready-to-use prompt: outdoor product image
Use the product photo I uploaded as a reference. Change only the surroundings.

Place the same insulated bottle naturally on a flat rock outdoors.
The background contains distant mountains, forest, a lake and a clear sky.
Use bright, natural light. Keep the subject sharp and the background moderately blurred.

Preserve the navy-blue matte body, silver lid, orange carry loop on the right,
thin silver band near the bottom, and the product's true proportions,
shape, angle and surface texture exactly as they are.
Add a believable shadow where the bottle meets the rock.

Do not add people, unrelated accessories, text, numbers, logos, labels,
prices or watermarks.
Use realistic product photography. Do not imply unverified product capabilities.
If the image is intended for an actual advertisement, we also check that the use suggested by the setting matches what the product can really do. A scene that creates a mood should not be mistaken for proof of performance.
5. Step four: create a holiday promotional image without text
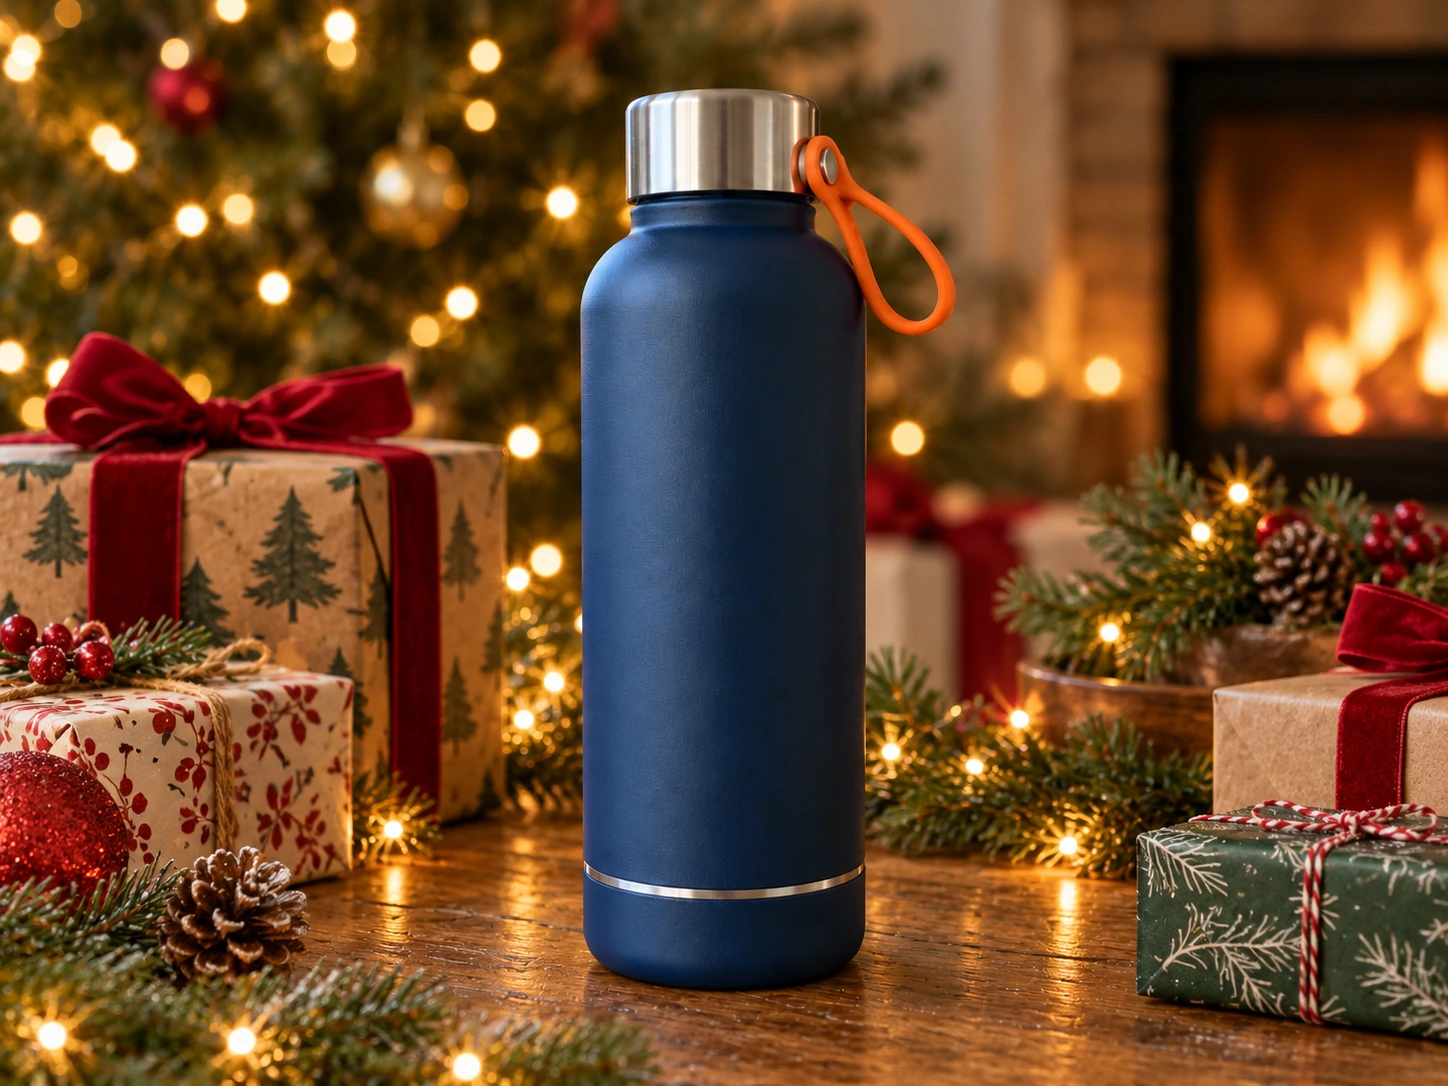
Figure 5: an illustrative holiday setting. The image contains only the product and decorations, with no promotional text, so multilingual websites can share the same base image.
A common problem with holiday images is that the model adds a promotional headline, discount numbers or unreadable lettering. We recommend letting AI handle only the scene and keeping prices, dates, discounts and button text on the web page or in an editable text layer.
Ready-to-use prompt: holiday setting
Use the product photo I uploaded as a reference. Keep the product itself unchanged;
edit only the background and surrounding decorations.

Place the insulated bottle in a warm winter holiday setting.
Simple gift boxes, pine branches, pine cones and warm string lights may surround it.
Use softly blurred lights in the background, and keep the product at the center.

Fully preserve the navy-blue matte body, silver metal lid,
orange carry loop on the right, thin silver band near the bottom,
and the product's proportions, shape, materials and real details.

Do not include any text, letters, numbers, sale prices, logos,
watermarks, printed labels or promotional slogans. Gift wrapping must also be text-free.
Use a realistic photographic style and a natural holiday atmosphere.
Do not let decorations obscure the product.
6. How do we decide whether an image is ready to publish?
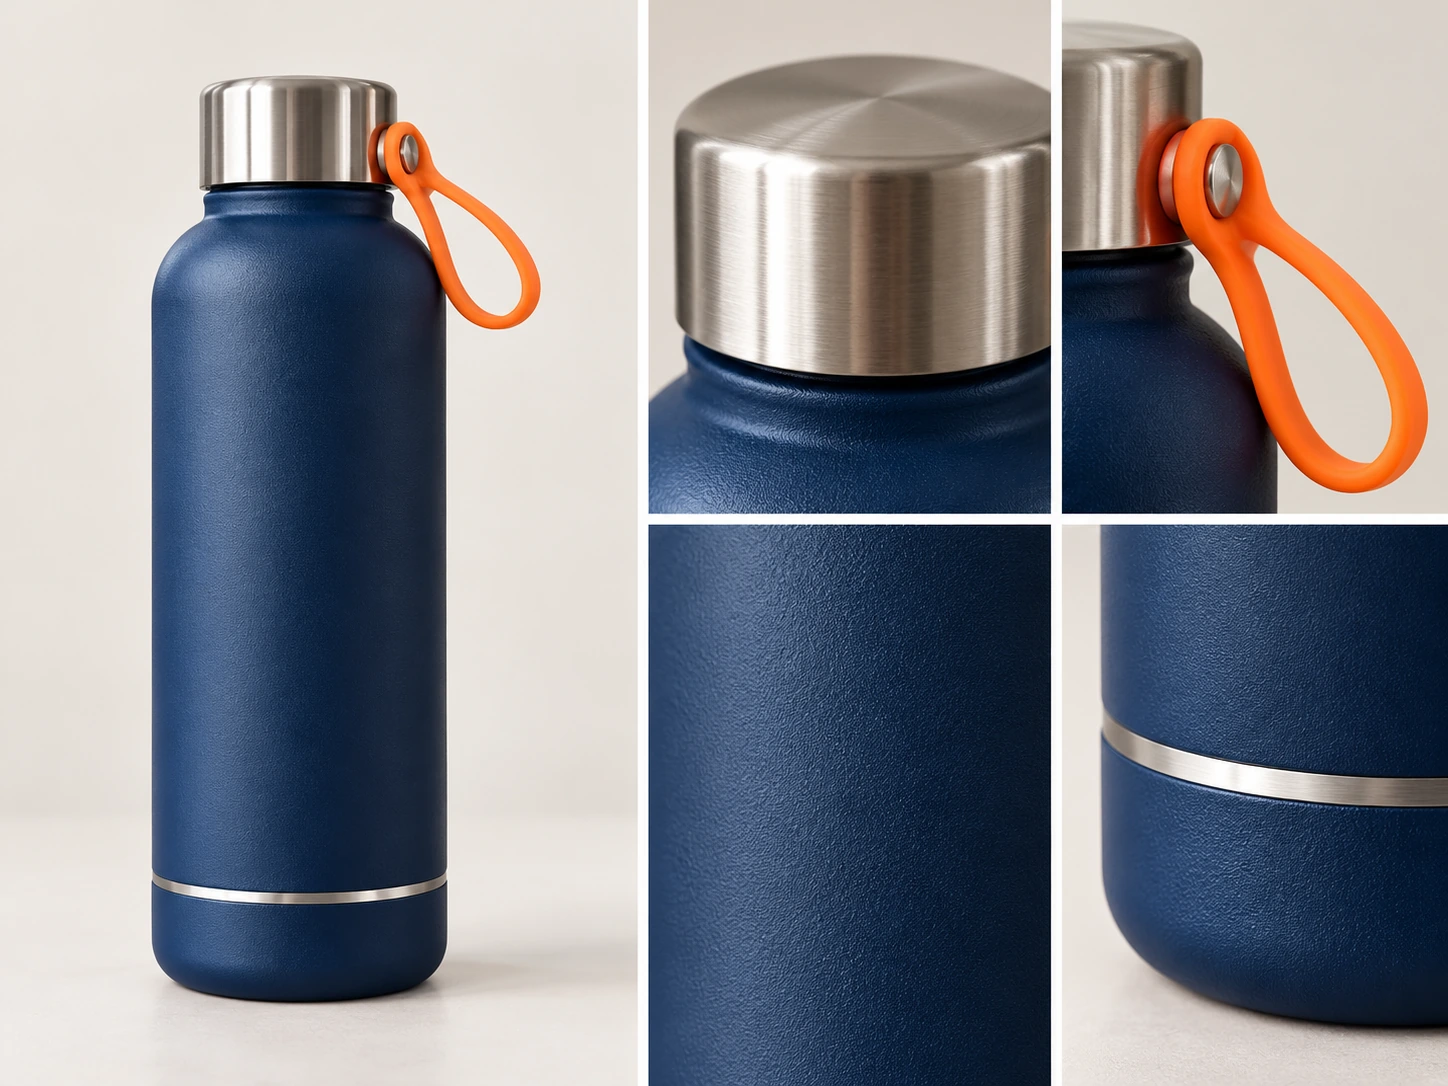
Making an image look good is the easy part; checking it properly takes more work. We open the original and the result side by side and use this checklist:
| Check | What we look for | What to do if something is wrong |
|---|---|---|
| Outline and structure | Changes to lid height, body proportions or loop attachment points | Try again with stricter structural instructions; use conventional cutout editing if needed |
| Color and materials | A blue color cast, altered silver or a changed matte finish | Correct against the actual product and the original photo |
| Text and markings | Correct brand, model, capacity and warning text | Do not publish an incorrect result; prefer the original artwork for markings |
| Light and shadows | Whether the product looks genuinely placed in the new setting | Make the lighting instructions more specific and try again |
| Unwanted elements | Added or missing accessories, text or watermarks | Remove them or generate again, then recheck the product itself |
7. Real Flare and Sunburst request records: what about speed and cost?
Request settings
| Item | Settings in the public records |
|---|---|
| Reference image | The same photo of a drink |
| Editing instructions | Replace the background with white while keeping the drink and subject layout |
| Aspect ratio | 16:9 |
| Resolution | 1k |
| Quality | low |
| Number of outputs | 1 |
| Format | png |
| Model | Separate requests to Flare and Sunburst |
Real request records from API Hop
| Metric | Flare | Sunburst |
|---|---|---|
| Text input tokens | 80 | 80 |
| Image input tokens | 1,508 | 1,508 |
| Image output tokens | 120 | 120 |
| Total tokens | 1,708 | 1,708 |
| Time taken | 13.441 seconds | 40.826 seconds |
| Output image dimensions | 1536 × 864 | 1536 × 864 |
| Calculated at public non-cached rates | $0.0128512 | $0.0128512 |
Model providers and networks can experience fluctuations, so these times will not necessarily match the times you see in your own application.
The API Hop page rates used for this calculation are $4 per million text input tokens, $6.40 per million image input tokens and $24 per million image output tokens. Both models have the same prices for these three items.
Text input: 80 × $4 / 1,000,000       = $0.0003200
Image input: 1,508 × $6.4 / 1,000,000 = $0.0096512
Image output: 120 × $24 / 1,000,000   = $0.0028800
------------------------------------------------
Total                                 $0.0128512
The more useful measure is “total cost per usable image.” If an image passes inspection on the first attempt, the total is close to the cost of one call. If repeated attempts are needed to preserve the product details, the final cost adds up.
Sources: public Flare example page, Sunburst request record, API Hop pricing.
8. How would we choose between Flare and Sunburst?
For everyday users, we suggest trying one image with Flare first to see whether the workflow works. If you need to examine complex materials and details more closely, give Sunburst the same reference image, prompt and settings for comparison. API Hop’s documentation positions Flare for faster generation and Sunburst for more detailed editing, but only a test can tell you which keeps your particular product more accurate.
| Task | Our suggested approach |
|---|---|
| Simple white backgrounds or quickly exploring a visual direction | Try Flare first |
| Complex materials, reflections and many details | Then compare Sunburst under the same conditions |
| Model numbers, logos and labels must remain exact | Check both manually; use conventional cutouts and editable layers if needed |
| Producing promotional product images in bulk | Start with 5–10 real photos, then measure the pass rate and final cost |
If you only need a clean white background, conventional cutout editing may be simpler. If you need a new, realistic setting, AI editing is more worth trying. We choose based on product accuracy, a natural-looking scene and whether retries are worth the cost, rather than the model’s name.
9. How do you use API Hop for this?
We suggest starting on the GPT Image 2.5 Flare image-to-image page. Choose reference-image editing, use a real photo you took of your product, and paste the relevant prompt from this article. To make problems easier to diagnose, change only the background on the first attempt. Once the white-background image passes inspection, move on to home, outdoor or holiday settings.
For API use, API Hop documents POST https://api.apihop.ai/openai/v1/images/generations, with publicly accessible HTTP(S) image URLs passed through image_urls. Phone photos stored locally must first be uploaded to accessible storage. The URL below is only a placeholder and cannot be used as-is to generate an image:
{
  "model": "gpt-image-2.5-flare",
  "prompt": "Edit the supplied product photo. Replace only the background with a clean white studio backdrop and a natural contact shadow. Preserve the product's exact proportions, navy-blue matte body, silver lid, orange carry loop and thin silver band near the bottom. Do not add or alter any text, numbers, logos, labels, accessories or watermarks.",
  "image_urls": ["https://example.com/your-product-photo.jpg"],
  "size": "4:5",
  "resolution": "1k",
  "quality": "low",
  "n": 1,
  "output_format": "webp"
}
We use 4:5 here to demonstrate a portrait product image. It differs from the 16:9 setting in the real records above, so you cannot directly compare time or cost. For other aspect ratios and quality settings, refer to the API Hop image API documentation. Image generation uses your account balance. Check current prices and output quality before using it in bulk.
10. Frequently asked questions
Can I put the image on a product listing straight away?
We do not consider an image ready for a listing just because the background change worked. Compare the shape, color, packaging and accessories with the actual product, and check the image policies of the platform you use.
Why does the model change details even when I say “do not change the product”?
Image-to-image editing is not the same as a precise cutout. Some materials, edges and reflections may be redrawn. When the differences are unacceptable, we prefer conventional cutout editing or editable layers.
Why are all the images text-free?
The same product images can be reused on pages in different languages. Prices, promotional details, buttons and campaign rules are better placed in the page text or a separate text layer than rendered directly into an image by an AI model. We recommend this workflow based on our experience serving e-commerce customers.
Does each image cost only about one cent?
That is not a fixed price. The figure of about $0.01285 in this article applies only to one call in the public example and its listed token usage. Actual costs vary with the request, settings and number of retries.
Do the scene images in this article prove the quality of Flare or Sunburst?
No. The eight local bottle images were created independently as teaching illustrations. They are not a controlled comparison of the two models. The model comparison uses only the public request records whose sources are identified separately.
Our conclusion
A clear product photo can be the starting point for several promotional images. But a finished background does not automatically make an image ready to use.
Here is the workflow we recommend: upload a real product photo, create a white-background image and inspect the product details carefully. Once it passes, try lifestyle and holiday scenes. Before publishing a listing or running an advertisement, manually check the packaging text, colors and accessories. For multilingual websites, we also keep all language-specific text on the page, rather than inside the image.
To try your own photo, start with API Hop’s GPT Image 2.5 Flare online image-to-image tool, then compare Sunburst under the same conditions. Our priority is a product image that is accurate, natural and genuinely usable, rather than one that merely looks attractive.